Install Nagios on Debian 10 and Ubuntu 20.04
- Debian 8
- CentOS 8
- Deprecated guides:
- Ubuntu 12.04
- Ubuntu 10.10
- Ubuntu 10.04
- Gentoo
- Debian 5
Traducciones al EspañolEstamos traduciendo nuestros guías y tutoriales al Español. Es posible que usted esté viendo una traducción generada automáticamente. Estamos trabajando con traductores profesionales para verificar las traducciones de nuestro sitio web. Este proyecto es un trabajo en curso.
Monitoring tools play an important part in effectively operating production servers. They can help you keep tabs on a server’s status and quickly catch any issues that might arise. Nagios is a popular solution, providing monitoring and alerts for your server and the applications and services running on it. The wide array of plugins available for Nagios make it adaptable to your needs.
Before You Begin
If you have not already done so, create a Linode account and Compute Instance. See our Getting Started with Linode and Creating a Compute Instance guides.
Follow our Setting Up and Securing a Compute Instance guide to update your system. You may also wish to set the timezone, configure your hostname, create a limited user account, and harden SSH access.
Install and configure a LAMP (Linux, Apache, MySQL, and PHP) stack. Follow the Install a LAMP Stack on Debian 10 or the How to Install a LAMP Stack on Ubuntu 18.04 guide for instructions.
sudo. If you’re not familiar with the sudo command, see the
Users and Groups guide.Create a Nagios User and User Group
Create a Nagios user and a
nagcmduser group:sudo useradd nagios sudo groupadd nagcmdAdd both the Nagios user and the Apache2 user to the
nagcmduser group:sudo usermod -aG nagcmd nagios && sudo usermod -aG nagcmd www-data
Install Nagios
Install Nagios, answering any prompts you receive during the installation process:
sudo apt install nagios4You can run the following command to install additional plugins for Nagios:
sudo apt install nagios-plugins-contrib
Configure Apache and Nagios
Create the Nagios administrator user:
sudo htdigest -c /etc/nagios4/htdigest.users "Nagios4" nagiosadminOpen the Nagios configuration file for Apache in your preferred text editor, and make the changes listed below. The file should be located at
/etc/nagios4/apache2.conf.- Comment out the
Require ipline by adding a#to the beginning of the line. Beneath that line, add the lines shown below. - Under the
Filestag, comment out theRequire all grantedline, and un-comment theRequire valid-userline.
- File: /etc/nagios4/apache2.conf
 1
 2
 3
 4
 5
 6
 7
 8
 9
10
11
12
13
14
15
16
17
18
<DirectoryMatch (/usr/share/nagios4/htdocs|/usr/lib/cgi-bin/nagios4|/etc/nagios4/stylesheets)> # [...] #Require ip ::1/128 fc00::/7 fe80::/10 10.0.0.0/8 127.0.0.0/8 169.254.0.0/16 172.16.0.0/12 192.168.0.0/16 <Files "cmd.cgi"> AuthDigestDomain "Nagios4" AuthDigestProvider file AuthUserFile "/etc/nagios4/htdigest.users" AuthGroupFile "/etc/group" AuthName "Nagios4" AuthType Digest Require valid-user Allow from 127.0.0.1 198.51.100.0 #Require all granted Require valid-user </Files> </DirectoryMatch>
Replace
198.51.100.0with one or more IP addresses from which you would like to access the Nagios interface, each separated by spaces. You can find the IP address you are making an SSH connection from by running thewhocommand.This configuration limits Nagios access to users coming from a pre-approved IP address and providing valid login credentials. The changes to the
Filessection ensure that only a user with the appropriate permissions can send commands to your machine via the Nagios interface. By default, only thenagiosadminuser that is configured above has these permissions.
- Comment out the
Open the Nagios CGI configuration file, located at
/etc/nagios4/cgi.cfg, and setuse_authenticationto1.Enable the
mod_rewrite,mod_cgi,mod_auth_digest, andmod_authz_groupfileApache modules:sudo a2enmod rewrite sudo a2enmod cgi sudo a2enmod auth_digest sudo a2enmod authz_groupfileRestart the Apache service:
sudo systemctl restart apache2
Access Nagios
Use a web browser to navigate to your machine’s domain name or public IP address followed by /nagios4. If you are accessing Nagios from the machine on which it is installed, navigate to: localhost/nagios4. When prompted, log in using the credentials you set up for the administrator user above (nagiosadmin).
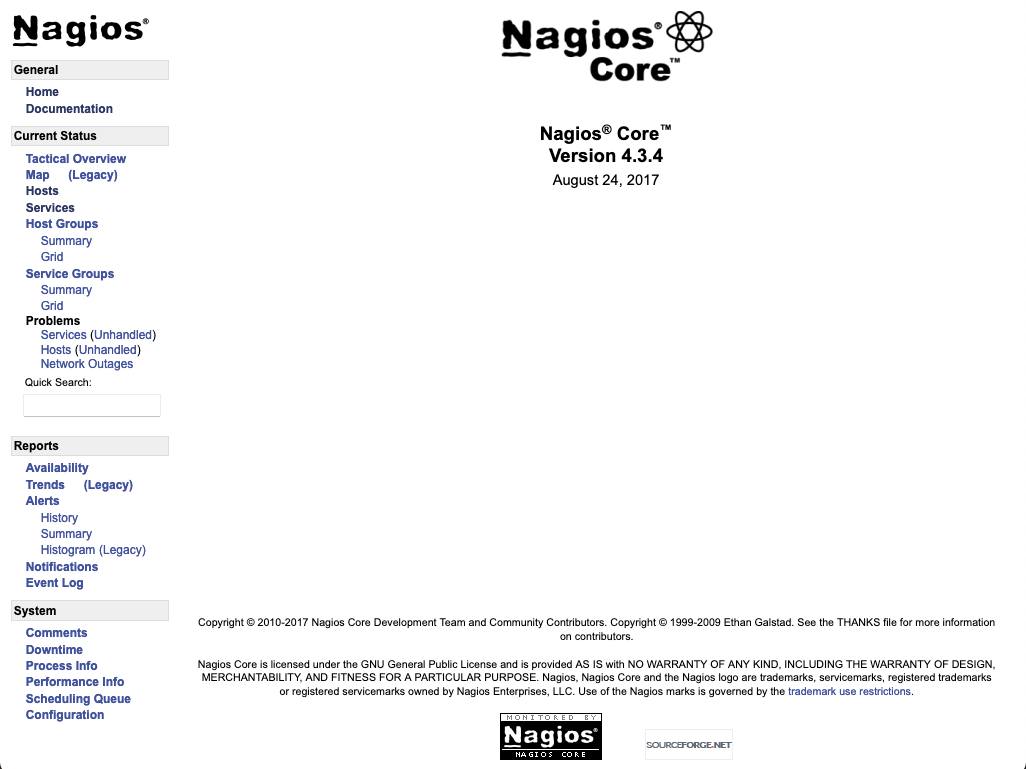
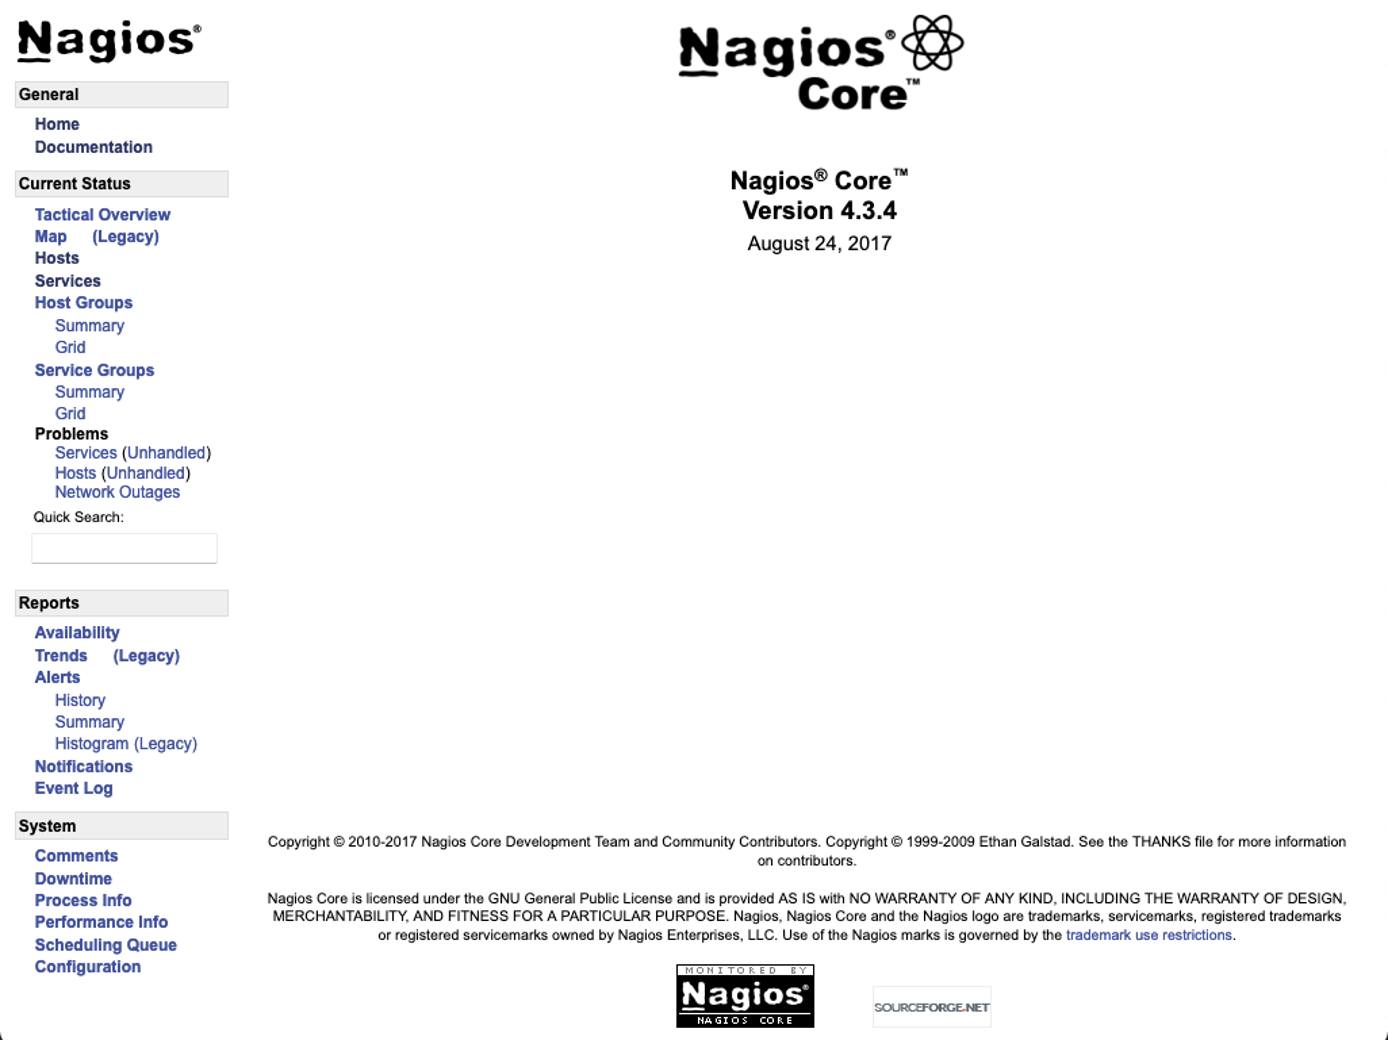
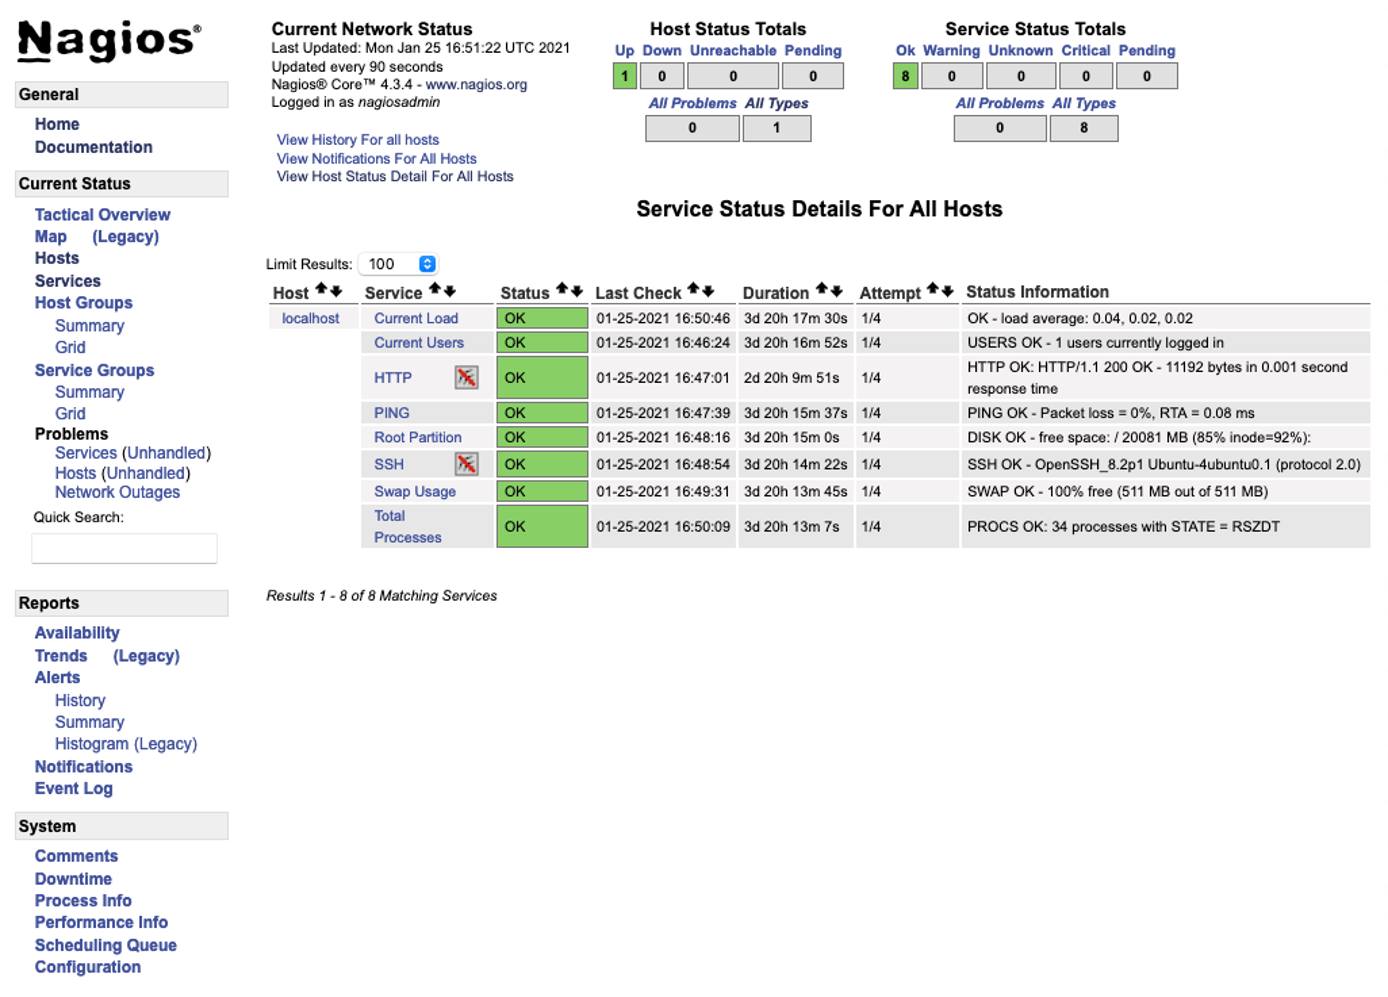
- You should be greeted by the Nagios landing page.

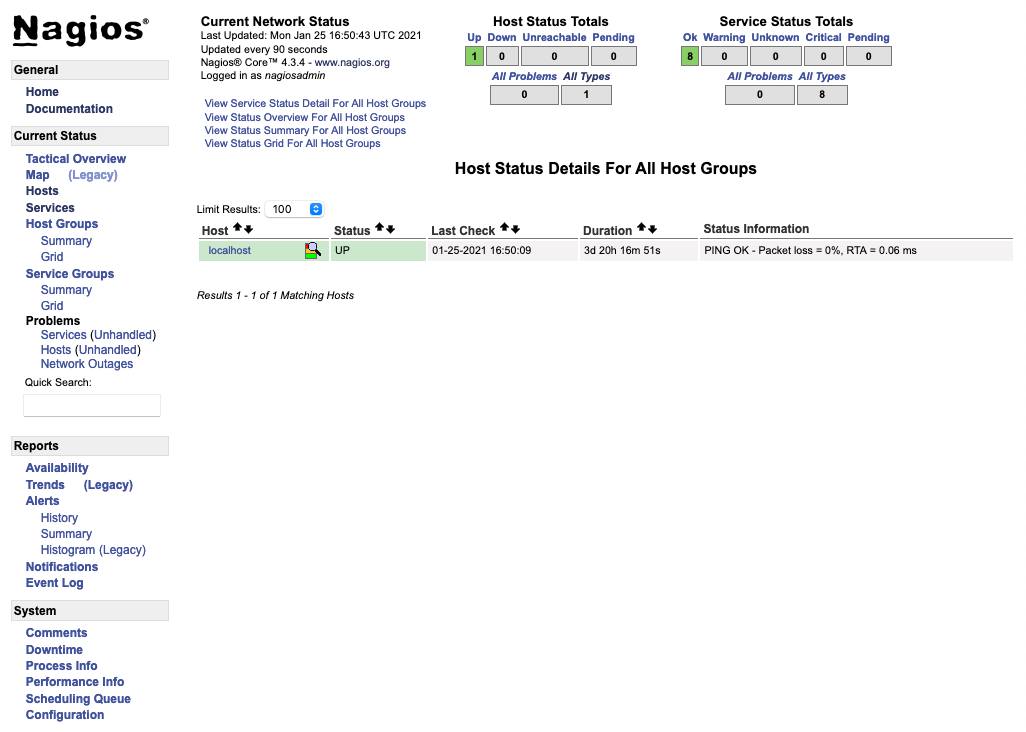
- You can view monitoring status information by selecting Hosts from the menu on the left.

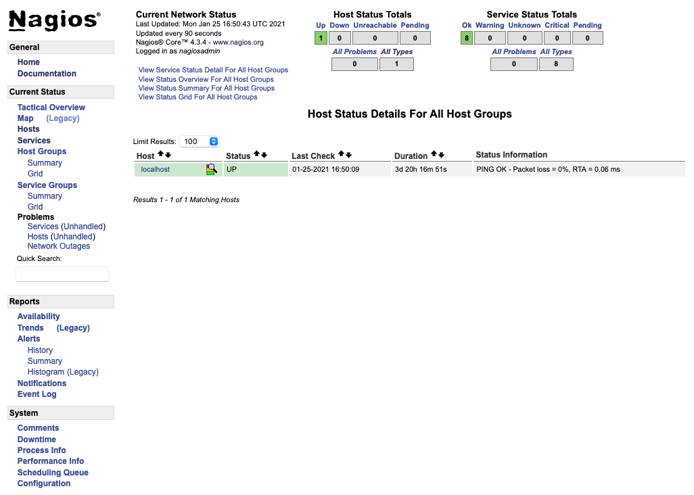
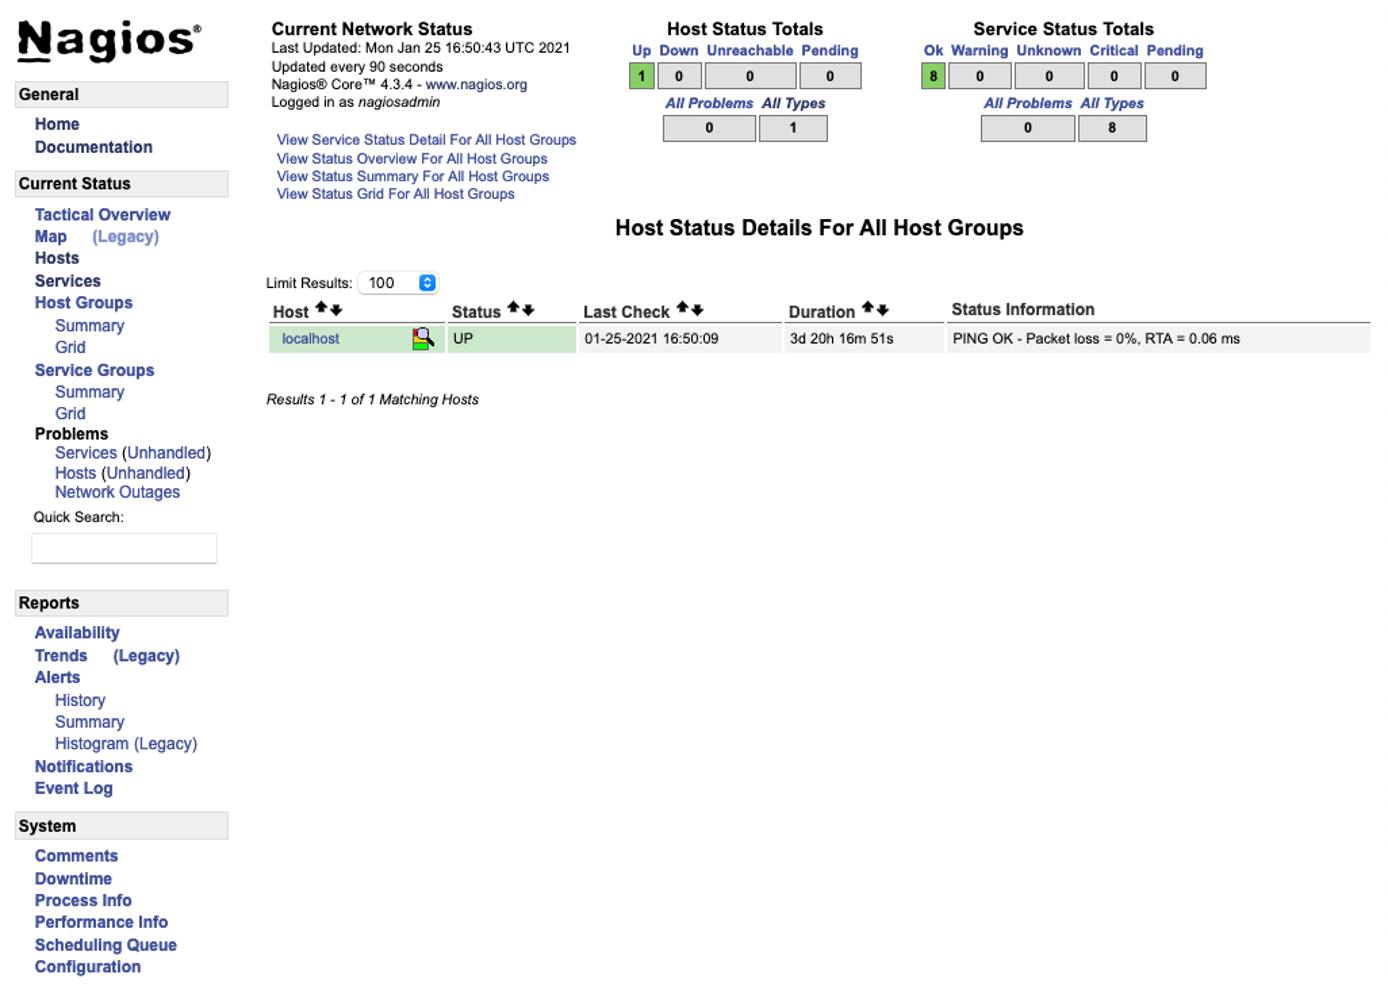
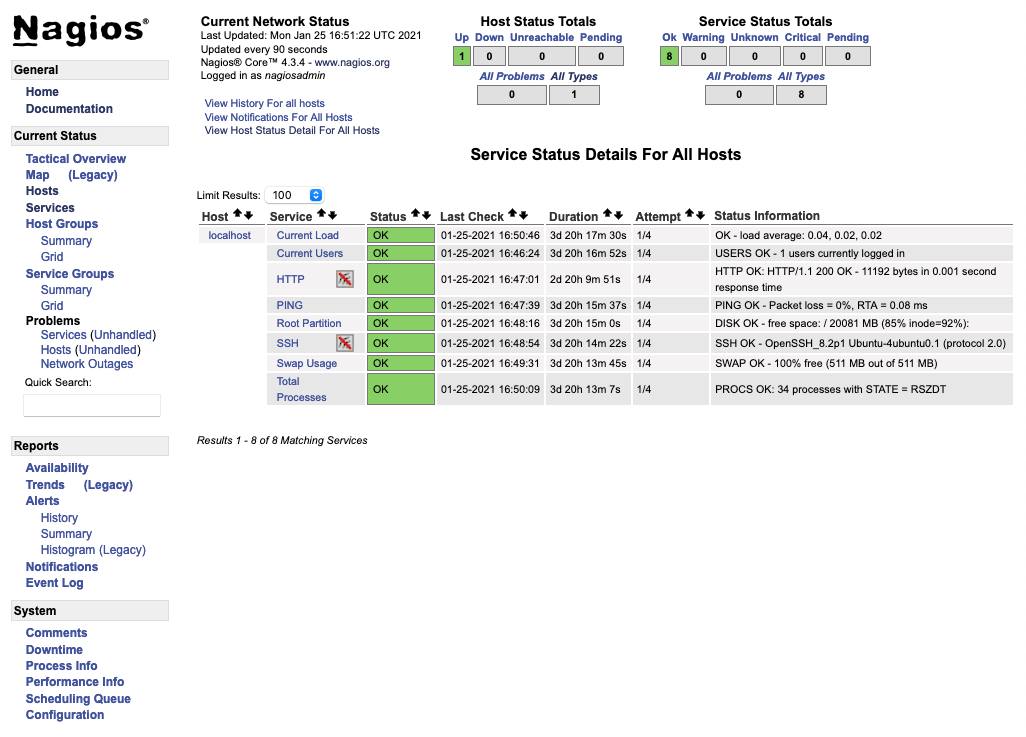
- You can get details on the services running and their statuses by selecting Services from the menu on the left.

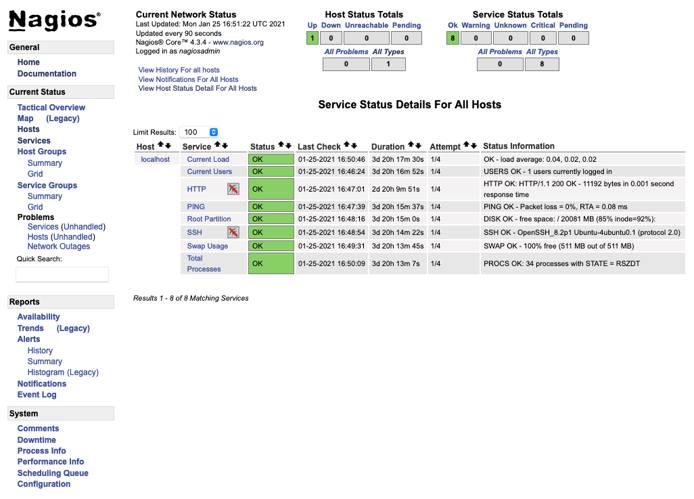
Next Steps
Nagios contains many features beyond the scope of this guide. Explore the Nagios administrative interface, as well as the official Nagios 4 documentation, to learn more about setting up and configuring your Nagios installation.
More Information
You may wish to consult the following resources for additional information on this topic. While these are provided in the hope that they will be useful, please note that we cannot vouch for the accuracy or timeliness of externally hosted materials.
This page was originally published on

